Take a look at my simple guide to sprouting a home and enjoy a variety of perks in your life! Sprouting at home has been such an easy hack to getting more nutrition into my meals. All it takes is two minutes of your time, twice a day for about five days and bam! You have yourself a nutrient-dense powerhouse that’s a great topping or addition to nearly every savory meal. Furthermore, sprouting is an incredibly affordable way to get more nutrition into your diet. Sprouts are truly one of the easiest foods you can grow in your home, so why not give it a shot?
First off, sprouts are vegetable or plant beans that germinate until either a root or it’s first set of leaves form. The sprout stage is before the microgreen stage, when they’re a bit larger and longer. Seeds, legumes and grains all sprout, and may eat them raw or cooked. Some common sprouts to use are; broccoli, alfalfa, mustard, radish, mung bean, kale, lentil, buckwheat. The complete list is quite lengthy, so you’ll never get bored. My go-to’s lately are broccoli and alfalfa, with buckwheat next up to try.
Disclaimer: This post contains affiliate links. If you use these links and make a purchase, I will make a small commission at no additional cost to you. Read my Affiliate Disclosure for more information. Thank you.
The Benefits of Sprouting
Undeniably, sprouts are brimming with micro and macro nutrients. No matter the sprout, you’re improving your health. Initially, this is why I started sprouting. I came across a video on YouTube on how broccoli sprouts are one of the most nutritionally-dense foods out there. With sulforaphane as the star of the broccoli sprout show!
Cruciferous vegetables (broccoli and cauliflower) are so raved about for their health benefits because of the sulforaphane compound. This phytonutrient, is extremely abundant in broccoli sprouts especially, and provides numerous positive effects on the body. Phytonutrients are chemicals plants produce to protect themselves from germs, fungi, bugs, and other threats. They aid us too, and include: omega-3’s, polyphenols, resveratrol, carotenoids, and over 4,000 more compounds.
Back to sulforaphane, it’s a pretty big deal and helps to: reduce inflammation, assists in killing cancer cells, aids in detoxification, supports heart health, increases glutathione for brain health and tons more. For these reasons, broccoli sprouts are my #1 sprout! Now, the nutritional profile of the different sprouts change, but nearly always contain high amounts of vitamins, minerals, fiber, proteins, amino acids ect. Additionally, they are easy to digest since you reduce the “antinutrients”- like lectins, phytic acid, tannins- that are present in many whole-foods by 50%.
Sprouting Is Cheap $
Next, the overall cost of sprouting at home is wonderfully cheap. One of those 100g bags of Mumm’s sprouts is about $10(CDN) and lasts me typically half a year. Although, I do a batch of two different kinds at the same time; a tablespoon of each in the same jar. But still, you can’t go wrong with that! With food prices through the roof nowadays, sprouting at home allows everyone cost-efficient nutrition . In fact, literally anyone can do sprouting at home, when I tell you the steps you will be floored at how simple it really is. The laziest of us will have no issues with this guide 😉
A Few Words of Caution
Conversely, you want to research which ones are safe to eat as certain kinds of sprouts bought from the grocery store can be contaminated. You may have heard reports about bean sprouts being linked to outbreaks of E. coli and Salmonella, scary stuff. According to this article: “Contamination in these cases generally tends to come from the seeds,” says Travers Anderson, R&D Group Manager at Clorox. The warm and moist conditions used to grow the sprouts contribute to bacteria growing too. Anderson also adds that sprouts commercially are grown hydroponically, in clear water with seeds brought in from fields. If these seeds are contaminated than the sprouts grown from them will be contaminated as well.
With this in mind, it’s crucial you buy your seeds from a reputable source, that can prove they are safe and clean. Organic, non-gmo and tested for contaminants are important factors for me when I buy seeds. Mumm’s seeds are my favorite and I have never had an issue with their seeds. You also want to purchase seeds that are specifically meant for sprouting, which Mumm’s are. Otherwise, pesticides and other toxins may be sprayed on them, not things I want to risk ingesting.
Equally important, not everything is meant to sprout. Quinoa, kidney beans, parsnip, carrot, tomato, and others are either harmful to ingest or need extra steps to ensure they are safe to ingest. Do a bit of research on the types of seeds or beans you want to sprout. Moving on from all this, I will now share my simple guide to sprouting at home!

Items Needed
- High quality seeds specifically for sprouting ( I bought mine at a health-food store, can also buy online)
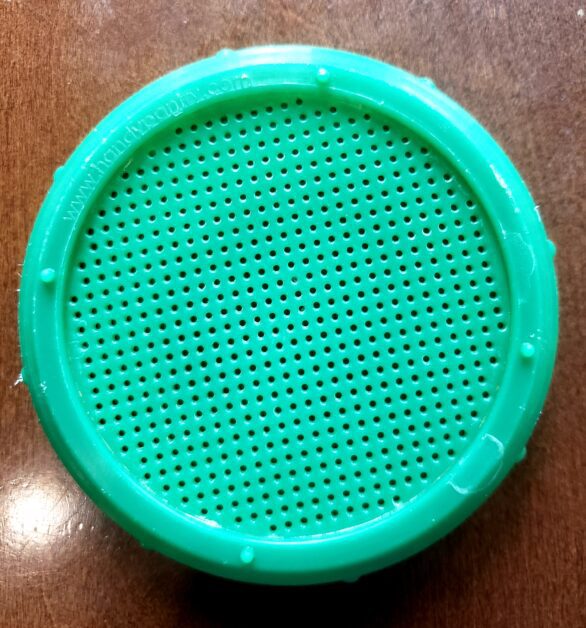
- A sprouting lid (for sale on Amazon or most health-food stores, but you can also use a piece of cheese cloth and a rubber band instead)
- A large wide-mouthed mason jar
- A container or bowl to tip the mason jar into (Or you can purchase a little stand for the jar)
- That’s it!
How To Sprout
Sprouting Step One
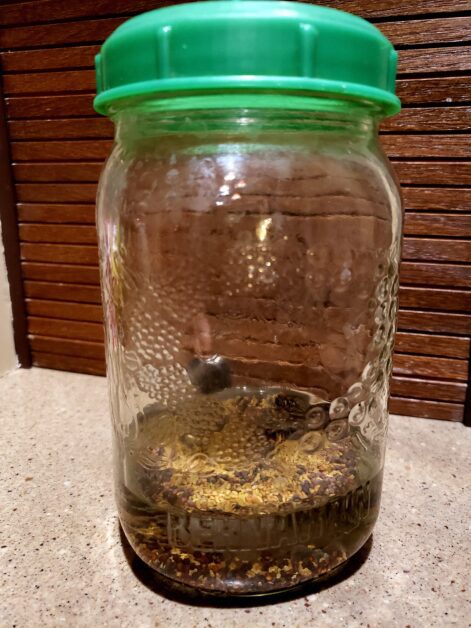
First, place the seeds in a clean mason jar. Add filtered water and cover with either the cheese cloth or sprouting lid. Depending on the seed you may need more water or less. However, a good rule of thumb is three parts water to one part seed. A legume will need more room than a seed, so ensure you have the appropriate size jar. The package of your sprouts will inform you how much of a yield to expect. When I do my broccoli and alfalfa sprouting at home I use 1 tablespoon of each in the jar. They yield 4 cups in total; the entire large mason jar. Normally, soaking is done overnight, about 8 hours. In most cases, as long as they soak a minimum of four hours you are ok.
Sprouting Step Two
Second, when you wake up in the morning rinse your sprouts. Tip your jar over the sink and let the water run out. If you use the cheese cloth, remove the rubber band and cloth, and place a fine mesh sieve over top of the jar. Invert it over the sink and let drain. Otherwise, tip the jar and the water will run right out of the sprouting lid. Then, I add more water to rinse the seeds, swirl around, and rinse. Let as much water drain out as you can. Now, you want to tip the jar upside down into your bowl or container, with enough room to have air flow. Give a little shake so they spread out and stick to the sides of the jar and not bunch up at the bottom. Personally, I put my sprouts on the counter where I can see them out of the sunlight. Seeing them prevents me from forgetting about them, do not keep in a cupboard out of sight.

After that, all you have to do is rinse these little guys twice a day, morning and evening. When I do my rinsing, I’ll rinse them twice at a time. Post-rinse, I come back a few minutes later to dump the water in the container or bowl out. Within a few days you start to see sprouts form. I find in about 4-5 days my sprouts are ready. Basically, when they expand and nearly fill the jar they are good to go.
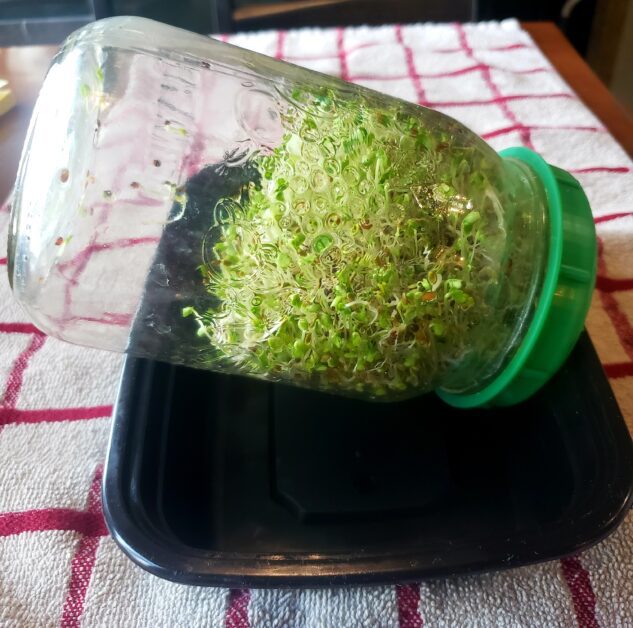
This is day 5 from a half batch I did. I used only 1 tbsp in total from broccoli and alfalfa sprouts. Usually, by day 5 when I use 2 tbsp this whole jar will be filled 🙂
Sprouting Step Three
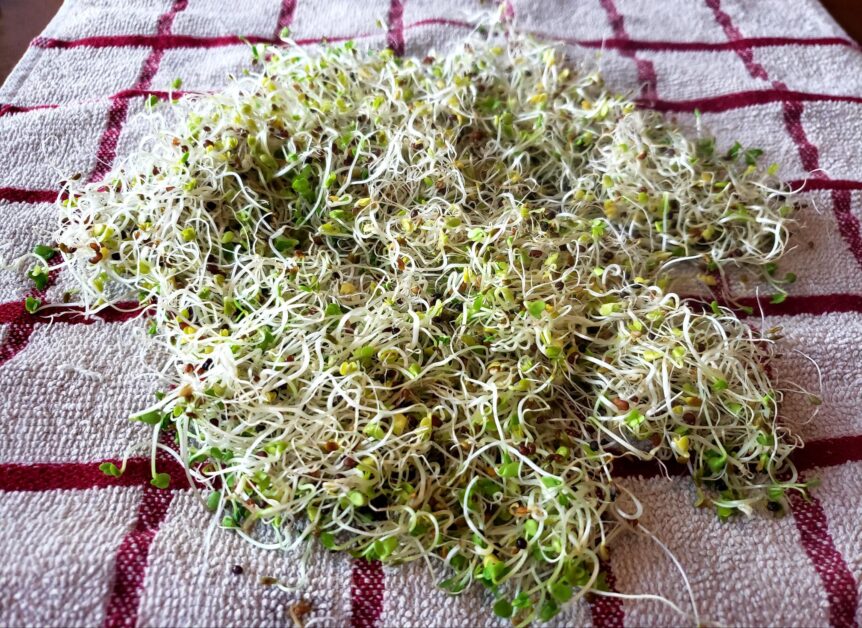
Finally, your sprouts are finished. I do one final rinse in the morning and let them drain well. Lay down a dish towel on a table, which for me is in front of my window, and spread out the sprouts. This step gives the sprouts time to dry out, as moisture is the enemy, and leads to produce spoiling quicker. If you are able to do the step where sunlight shines on the sprouts, it can give them an extra nutrient boost. The sunshine enables photosynthesis to occur, producing chlorophyll in your sprouts. This is not necessary but a little bonus tip.
Lastly, when a few hours have past, fold up the dish towel with the sprouts inside and put in an airtight container to store in the fridge. The dish towel will keep your sprouts dry and fresher longer, about 5-7 days. Enjoy your sprouts in a variety if ways!
Keep in mind: for healthy, bacteria-free sprouts, avoid too hot or too moist conditions. If any browning occurs or you notice a bad odor, your sprouts have spoiled.
Sources:
https://draxe.com/nutrition/sulforaphane-benefits/
https://www.organicfacts.net/health-benefits/seed-and-nut/sprouts.html
https://pubmed.ncbi.nlm.nih.gov/24803714/
Latest Posts:
- What Grief Has Taught Me
- Unique Gift Ideas For The Spiritual Person In Your Life
- Healthy Chocolate Pudding Recipe
- My Weird Everyday Health Habits
- 6 Easy Ways To Enter The Present Moment
I’ve never given sprouts much thought but you may have convinced me I should be giving it a try!
My husband enjoys sprouts, so we might have to try this. I always thought they tasted like grass but he likes them on sandwiches.
Okay, this is a great post. I will admit as well, I have never given sprouting a thought, heck I didn’t even know you could do this, and I like sprouts.
I would love to try growing sprouts! I know how healthy they are and I’d love to incorporate them into our meals.
I do love sprouts and I need to start sprouting again. Your way looks so easy to do.
I have heard of this and want to try it. I just haven’t yet.
I really love sprouts! This sounds really good I’m surely gonna give this a try
I’m really not into sprouts but my husband really likes it! I’m gonna show this to him!
As someone who is always looking for ways to improve my nutrition and incorporate healthier foods into my diet, your post was really informative and practical. Sprouting at home sounds like a fun and easy way to add more nutrients to my meals, and I can’t wait to give it a try.
I’m not a fan of sprouts but my daughter loves them. I’ll have to tell her that she can grow her own.
I am always interested in sustainable domestic living, and sprouting at home seems like a great project to take on!
This is so interesting, I’d love to try this! 🙂
wow! You just convinced me to start sprouting at home. Now I know how easy it is and I am start looking for seeds!
Bean sprouts are one of my favorites but I have never tried sprouting before. Looks interesting!
very interesting, I don’t know with this is something that I would use. or consider growing them as well.
I really appreciate these tips, thanks for sharing them!